Step 1: Create Your Core Customer Tag
Before mapping your background automation rules, you must establish the identifier tag that tracks your incoming traffic.
- Log into your main workspace dashboard and navigate to the Contacts tab at the top menu.
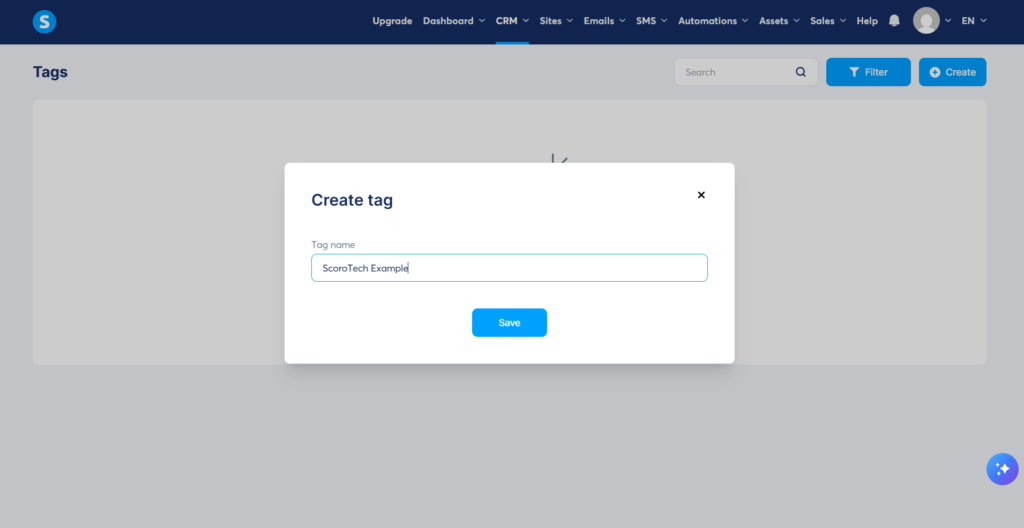
- Select Tags from the dropdown options and click Create a New Tag.
- Name your tag clearly based on the specific acquisition point (e.g.,
Lead: Main Ebook Download) and save changes.
Unlike legacy funnel builders that force users into separate, siloed contact databases, this master tag allows you to filter your audience inside a single, unified database without creating data conflicts.
Step 2: Establish the Funnel Form Automation Rule
Once your tracking tag is active, you must connect it to your active landing page capture form.
- Navigate over to your Funnels workspace tab and select the specific landing page project you are running.
- Inside the step configuration column, click directly on the Automation Rules settings option.
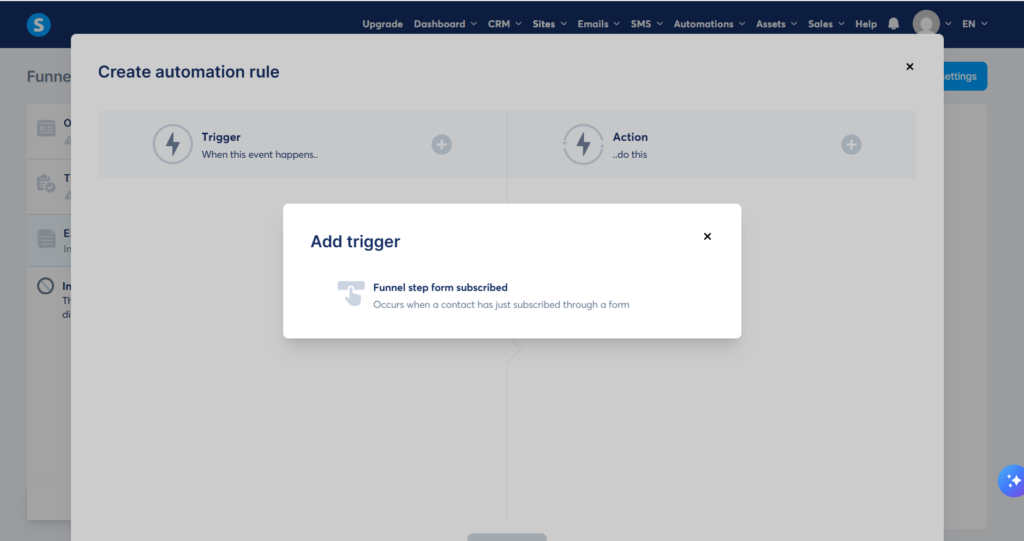
- Select Add Rule and choose the Funnel Step Form Subscribed trigger event.
- Click on the newly created rule, select Add an Action, and choose Add Tag. Select the core tag you created in Step 1.
Step 3: Trigger the Automated Email Sequence
The final step ensures your system immediately deploys your transactional email or welcome sequence once the tag is applied.
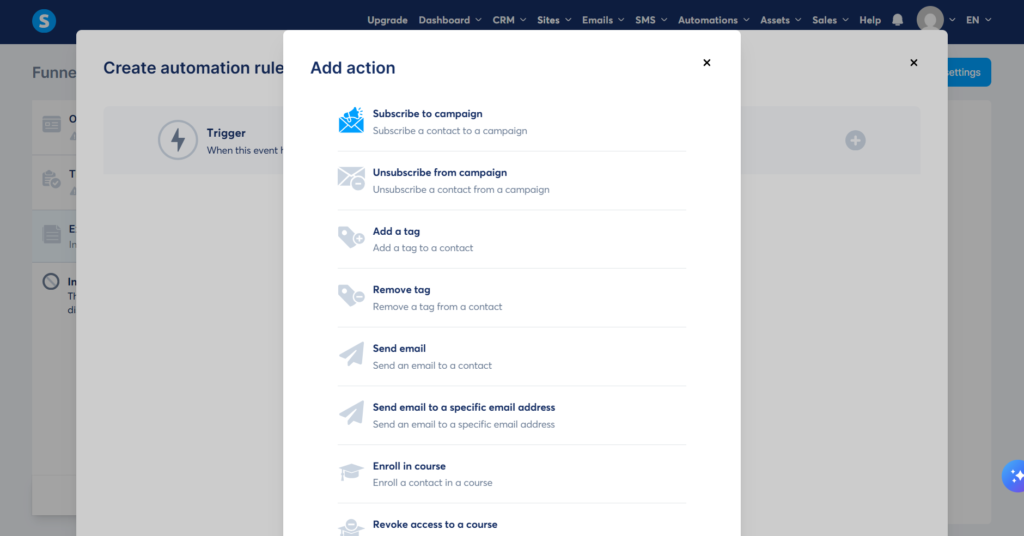
- Within the same Automation Rule workspace interface, click the Add an Action secondary node.
- Select Subscribe to Campaign from the available system behaviors.
- Choose your pre-written email follow-up sequence from your active campaign inventory dropdown list.
- Click Save Rule at the bottom right corner of your workspace to push the configuration live.